POP Projects is a collection of new and classic projects from more than a century of Popular Mechanics. Master skills, get tool recommendations, and, most importantly, build something of your very own.
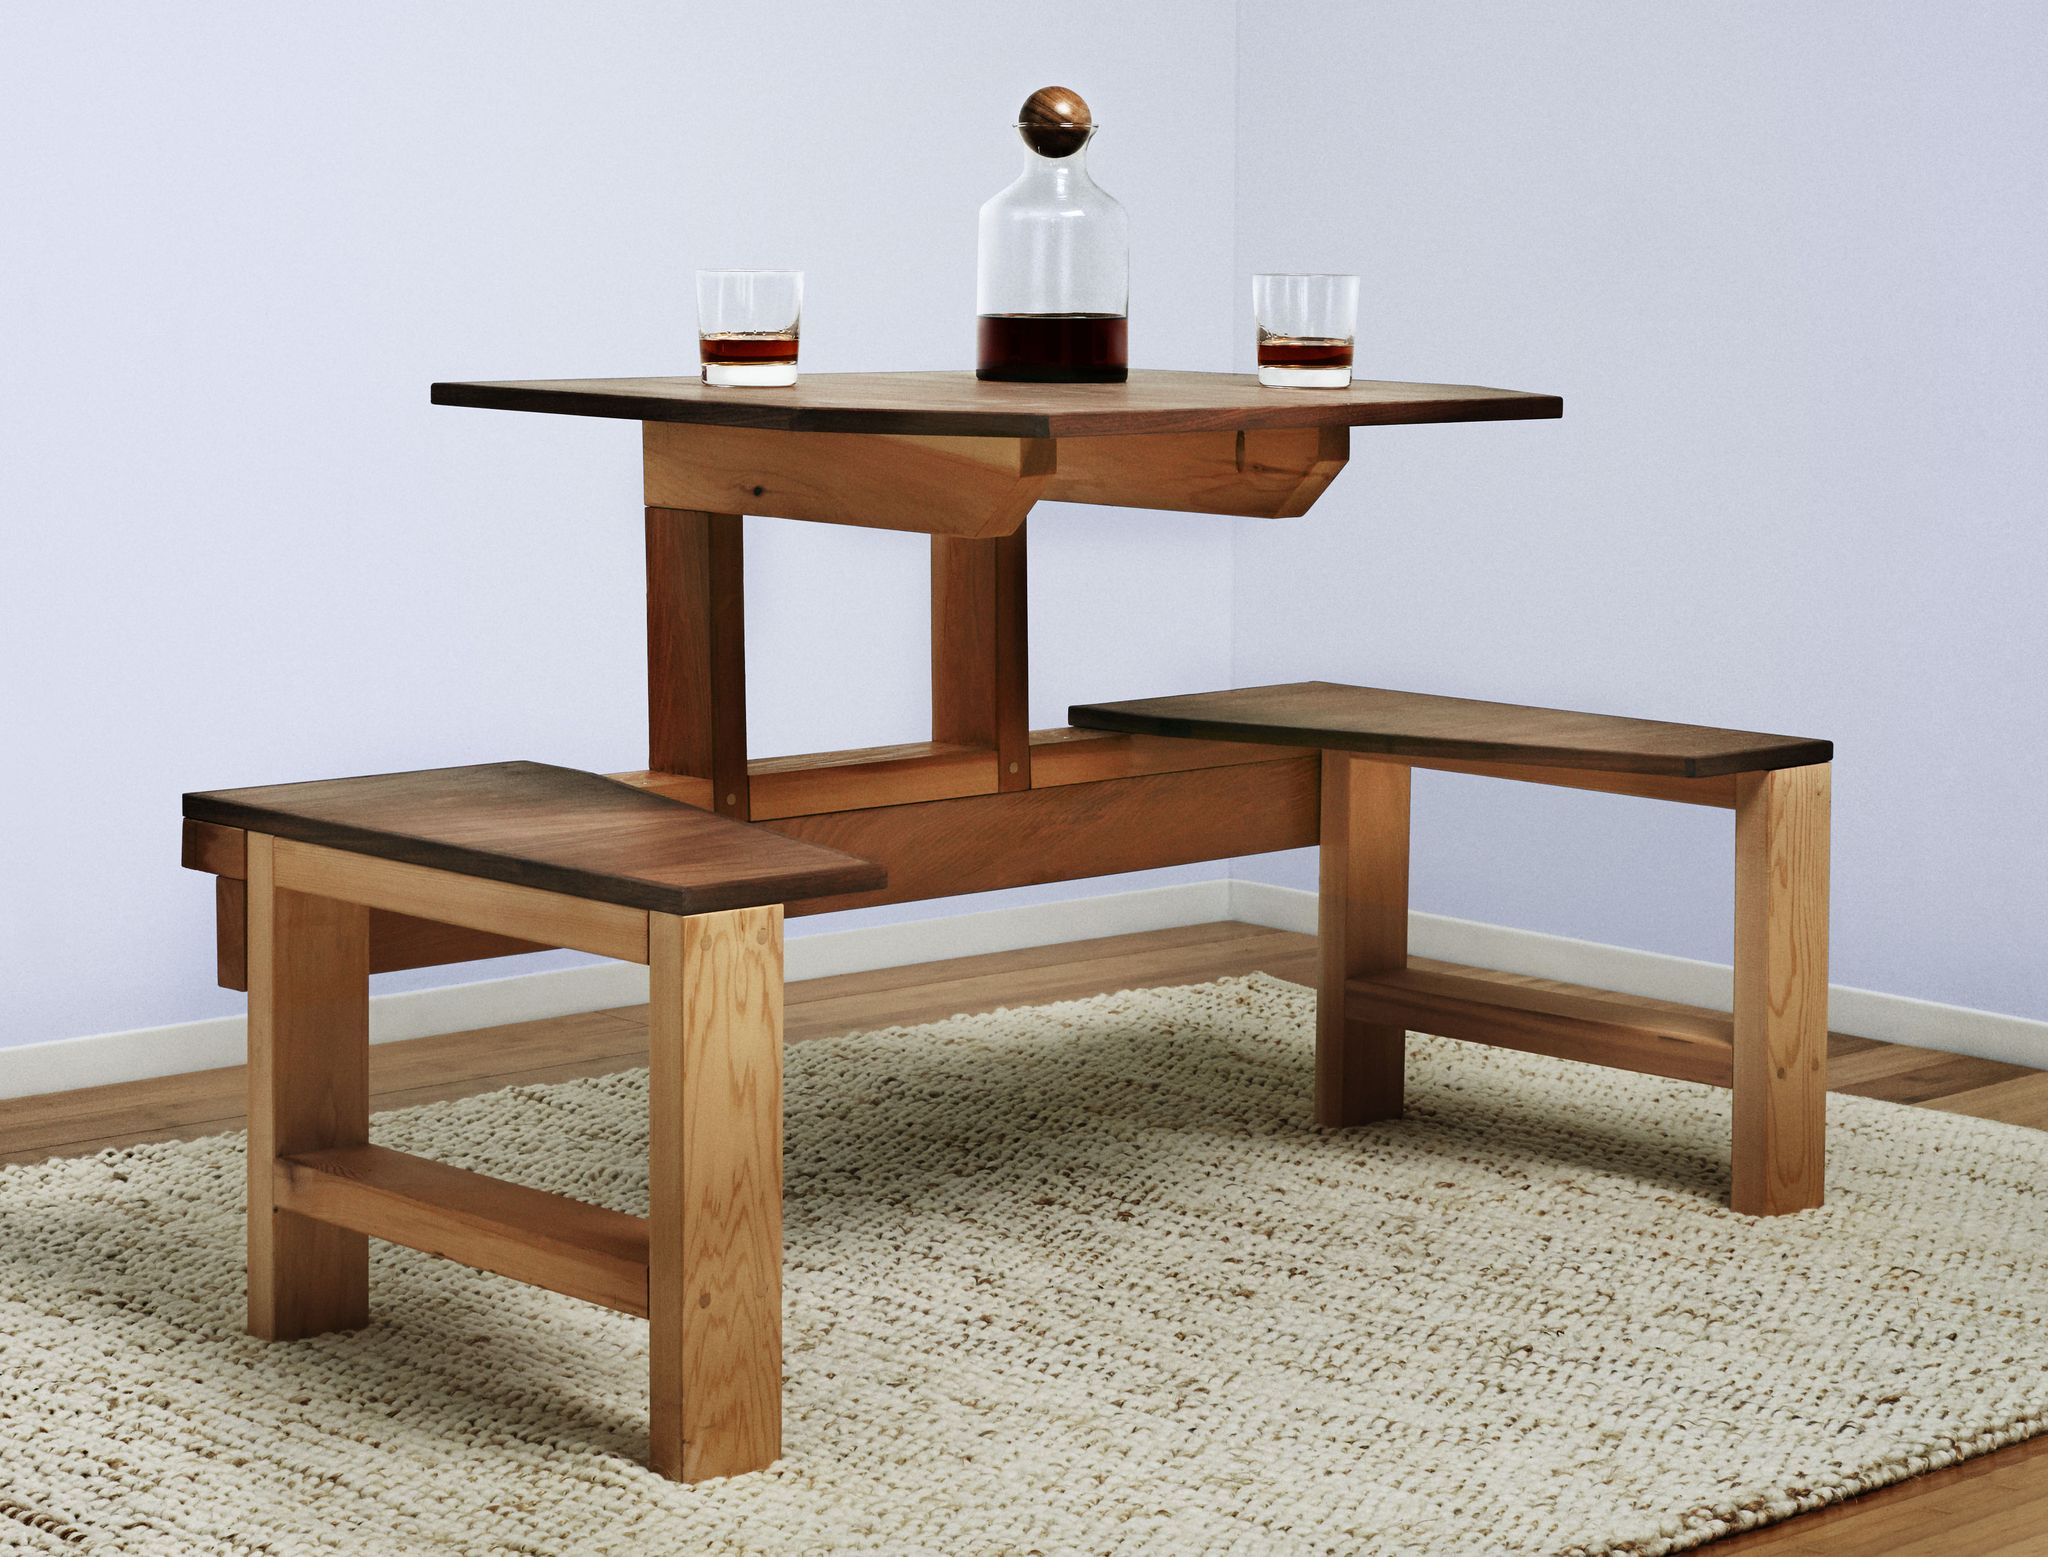
We found this single-unit lunch table in a 1939 Popular Mechanics book. its midcentury-modern styling caught our eye, but it needed updating. a few tweaks, such as adding contours to the tabletop, allowed us to reduce its size and make it more practical for today’s lifestyles. the result is a com-pact table for two that’s ideal fora casual afternoon snack or evening drinks.
The shopping list is short and thrifty, and you can build this table in a day. But that doesn’t mean you need to downscale the design. For a contemporary look, use kiln-dried cedar lumber for the supporting structure and add hardwood edging to the contrasting walnut-veneered plywood.
These Tools Will Help
Plans and Materials
Lumber Supports
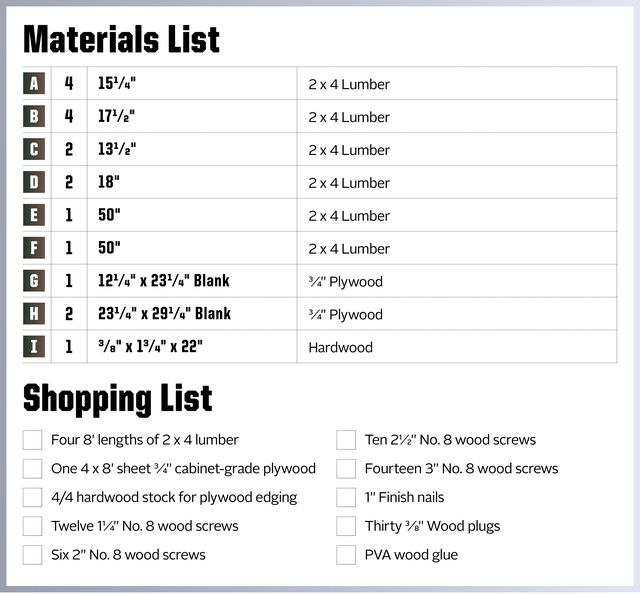
Begin by crosscutting the 2 x 4 lumber to size according to the materials list on the following page. Trim off any factory ends, which are often rough, cracked, and dirty. To get the most out of your lumber, cut the longest parts (the stretcher and apron) first, and work your way down to the shortest parts (the table uprights).
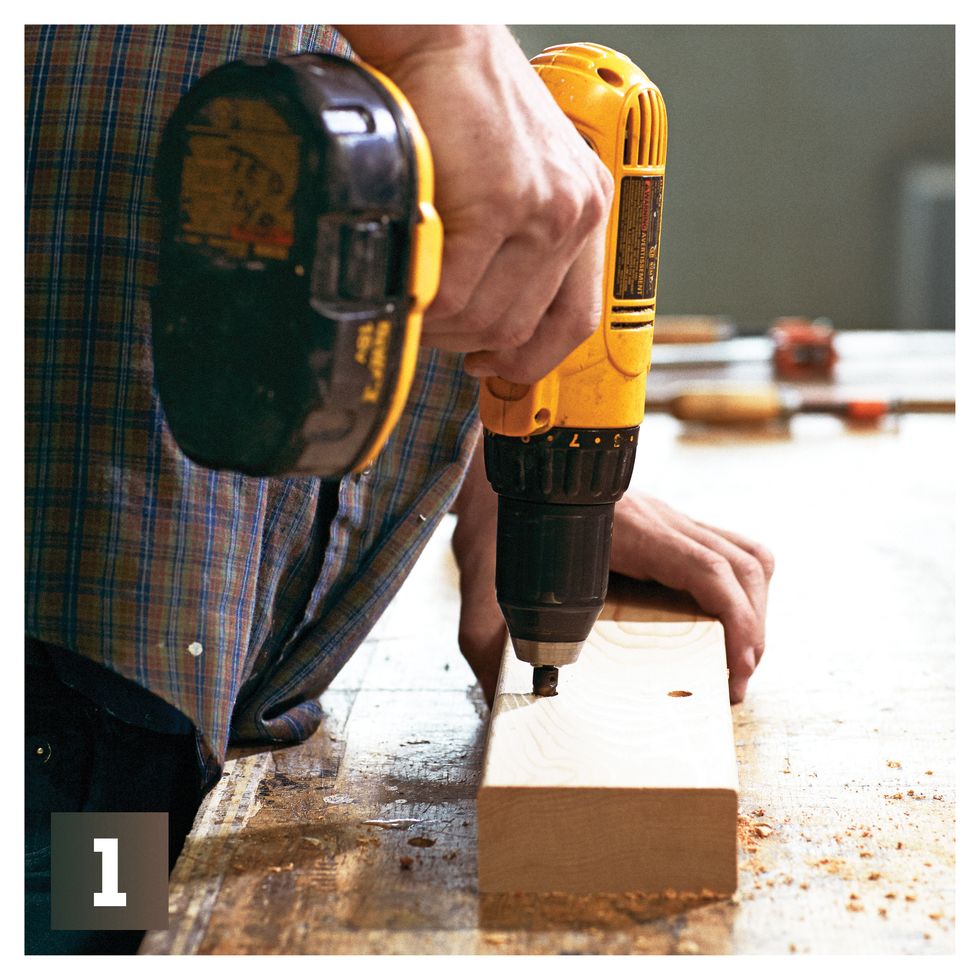
Use a No. 8 countersink bit to predrill four holes into each leg. Position two holes ¾ in. from the top and ¾ in. from each edge. Position the other two 6¾ in. from the bottom and ¾ in. from each edge [1]. Clamp the legs to the crossbraces, and drive a 3-in. screw into each hole [2].
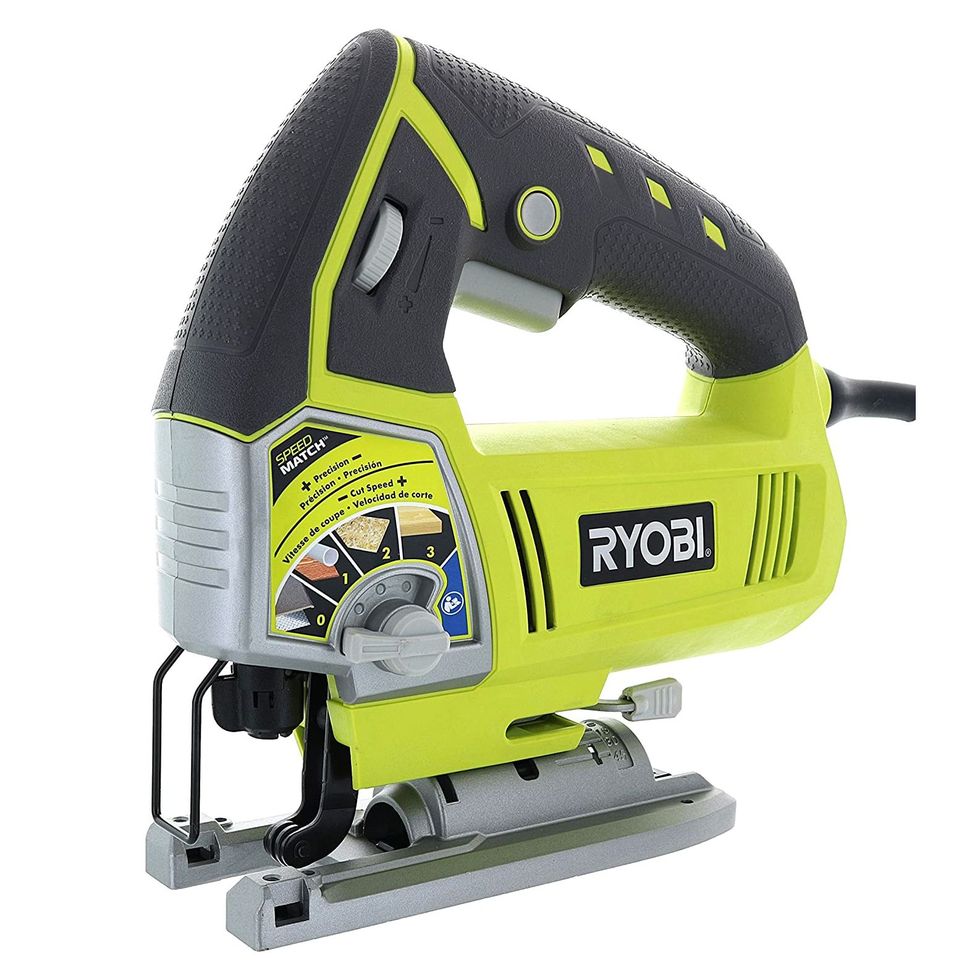
On the stretcher, mark two mortises 1½ in. wide by 1¾ in. deep and positioned 18 in. from each end. Drill a relief hole in a corner, then cut out the mortise using a jigsaw [3]. Cut a tenon 1½ in. long and 1¾ in. wide to match these mortises in one end of each table upright.
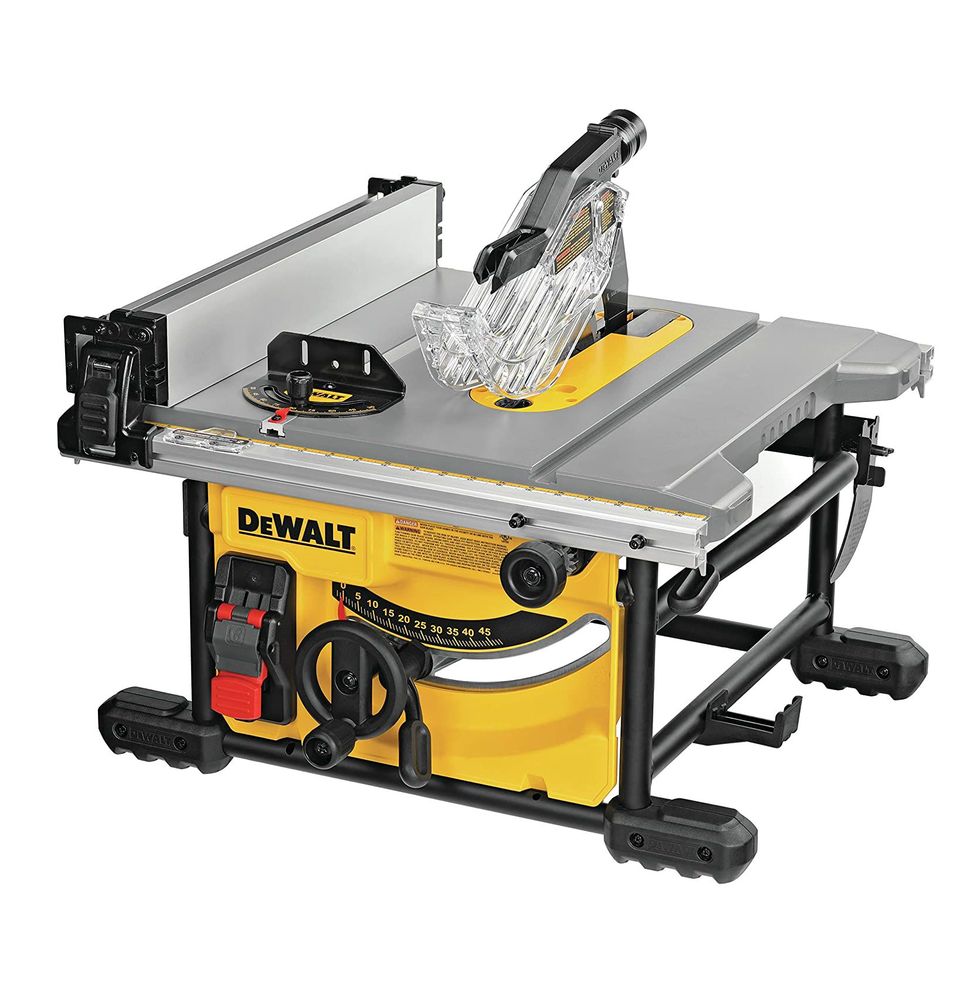
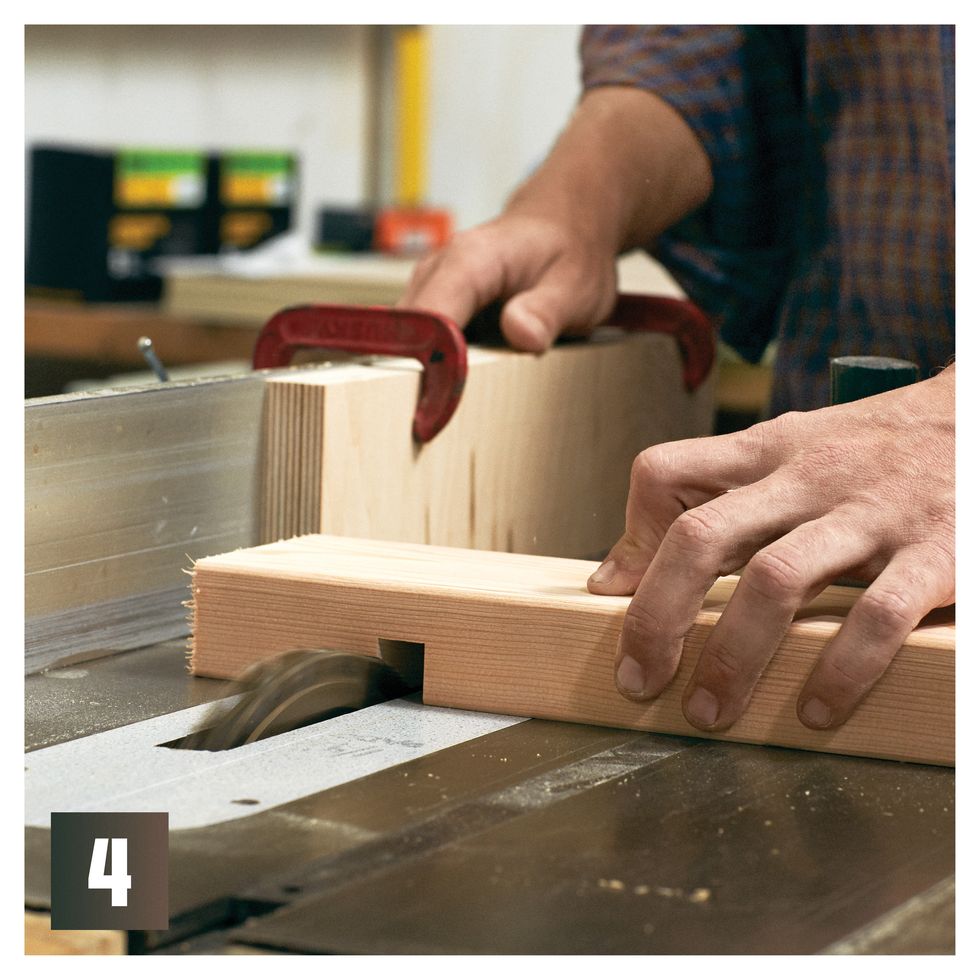
On the other end of each table upright, use a table saw with a dado stack to cut a rabbet ¾ in. deep by 3½ in. long [4]. Cut a matching rabbet on one end of each table support to fabricate a half-lap joint [5]. If you don't have a dado stack, make relief cuts with a miter saw or handsaw, and remove the waste with a chisel. On the other end of these pieces, make 45-degree cuts 1 in. down from the top edge. To complete the table support subassemblies, glue the pieces together at right angles and fasten with four evenly spaced, 1¼-in. countersunk screws [6].
Spread glue on the tenons of the table uprights and insert them into the mortises of the stretcher [7]. Clamp and fasten them with 3-in. countersunk screws. Attach the apron to this assembly by first spreading glue along the apron's edge and then driving six 3-in. screws through the top of the stretcher and into the apron. Position the screws within 12 in. of each end to ensure they will be hidden by the benches.
Attach the table–apron assembly to the leg assemblies by driving four 2 1⁄2-in. countersunk screws through the apron into the legs.
Plywood Surfaces
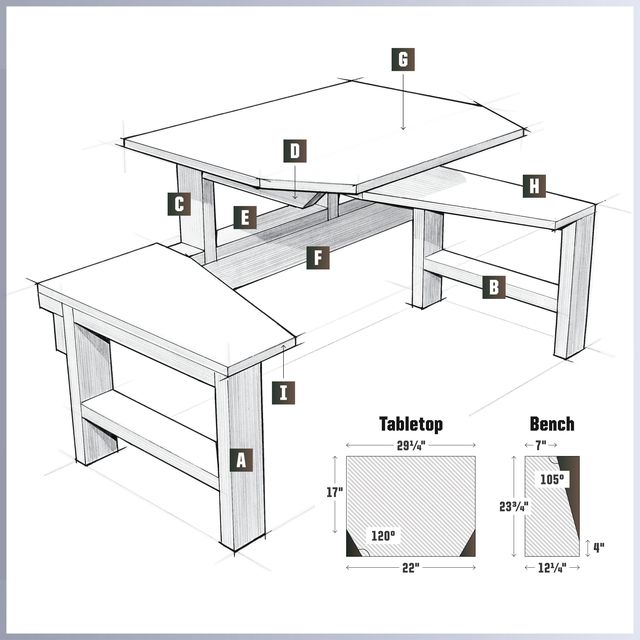
Use a circular saw to make the angled cuts in the plywood blanks illustrated above.
⚠️ These dimensions assume you'll be installing 3/8-in. edging. If you're not, add 3/4 in. to each dimension.
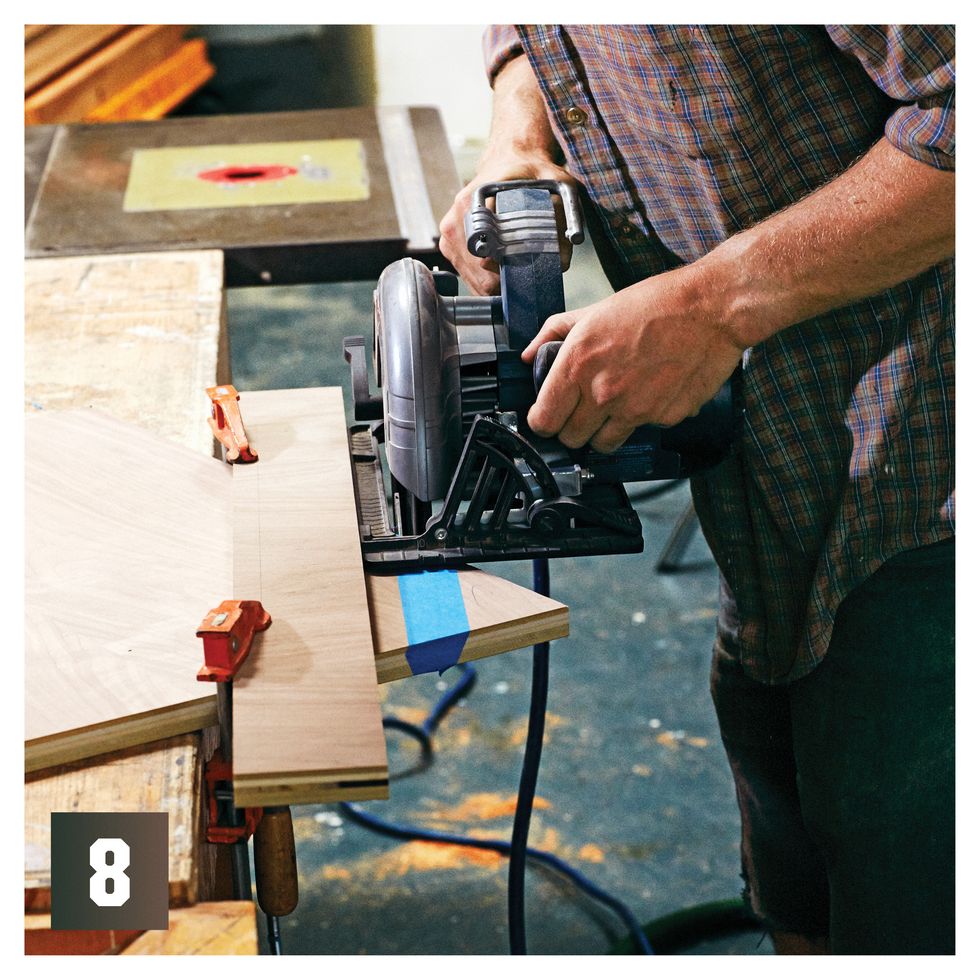
Clamp a straightedge to the plywood to guide the saw and keep your cut straight. To prevent the plywood from chipping out, apply blue masking tape to the top surface [8].
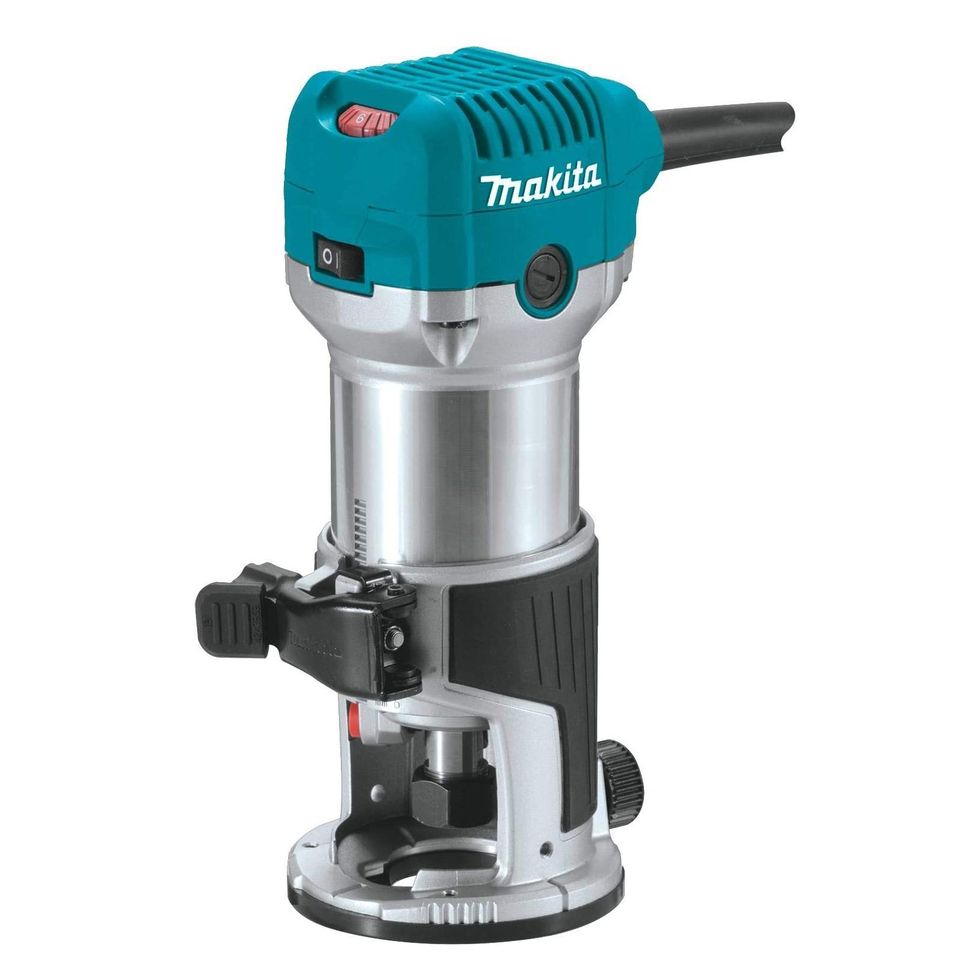
For the edging, rip 4⁄4 hardwood stock into 3⁄8-in. strips. Use a miter saw or handsaw to trim the pieces to size. You can overlap the pieces or miter them at the corners. Glue and nail them into place, leaving them slightly proud on the surfaces. Once the glue dries, trim the excess with a router and a flush-trim bit [9].
Fasten each bench by clamping it to the leg assembly and driving three 2-in. screws through the stretcher and into the underside of the bench.
⚠️ Be careful, though: Go too deep and the tips will penetrate the bench surface.
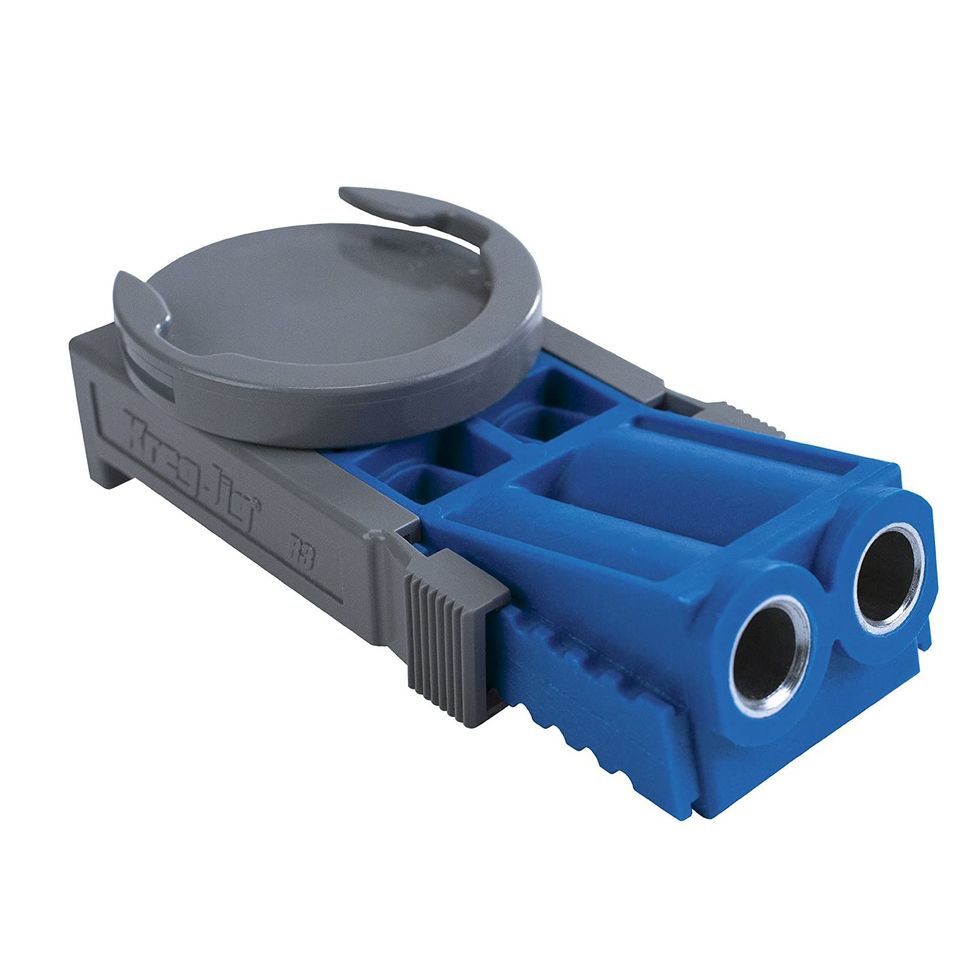
Attach the plywood tabletop with 1¼-in. pocket screws. Clamp a Kreg Jig to each table support, and bore two holes on the inside of each support [10].
Finishing Up
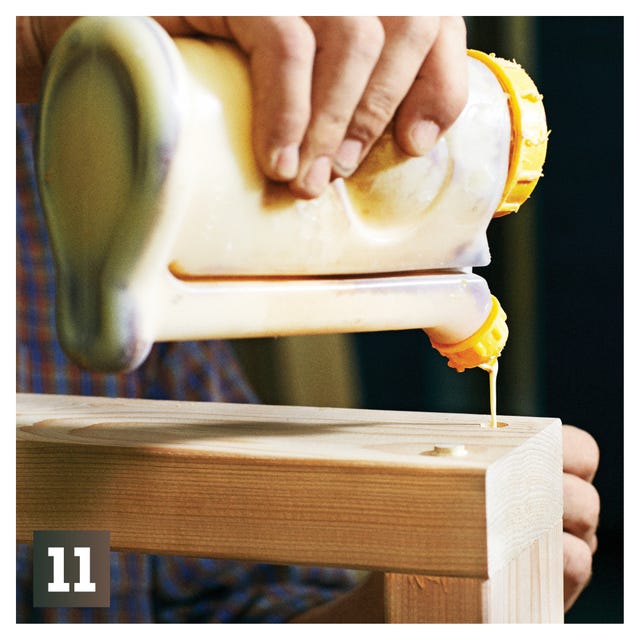
Put a little glue into all visible countersunk holes. Plug the holes with 3⁄8-in. wood plugs, tap them in gently, and once the glue has dried, trim the plugs flush with a flush-cutting saw. Sand the table with 120-grit paper, followed by 180-grit paper. Apply two coats of clear polyurethane, sanding lightly between each coat with 220-grit paper.

